Following on from my post about White Coated Russians and the Turks, I left out the 1904 white coated Russians and got out my 'other Russians' see my post of 11th February.
Bob and I set about fighting a small battle to control a village somewhere in Russia.
The Whites had 50 infantry, 16 cavalry, a gun, a Rolls Royce armoured car and a heavy machine gun. The Reds had 80 infantry, 2 Renault machine gun armoured tanks a gun and 8 cavalry.
Reds line up to take my village
My troops take up position
Ivan and his armoured car and a squad of infantry wait in a nearby forest.
My gun covers the road supported by 3 squadrons of cavalry
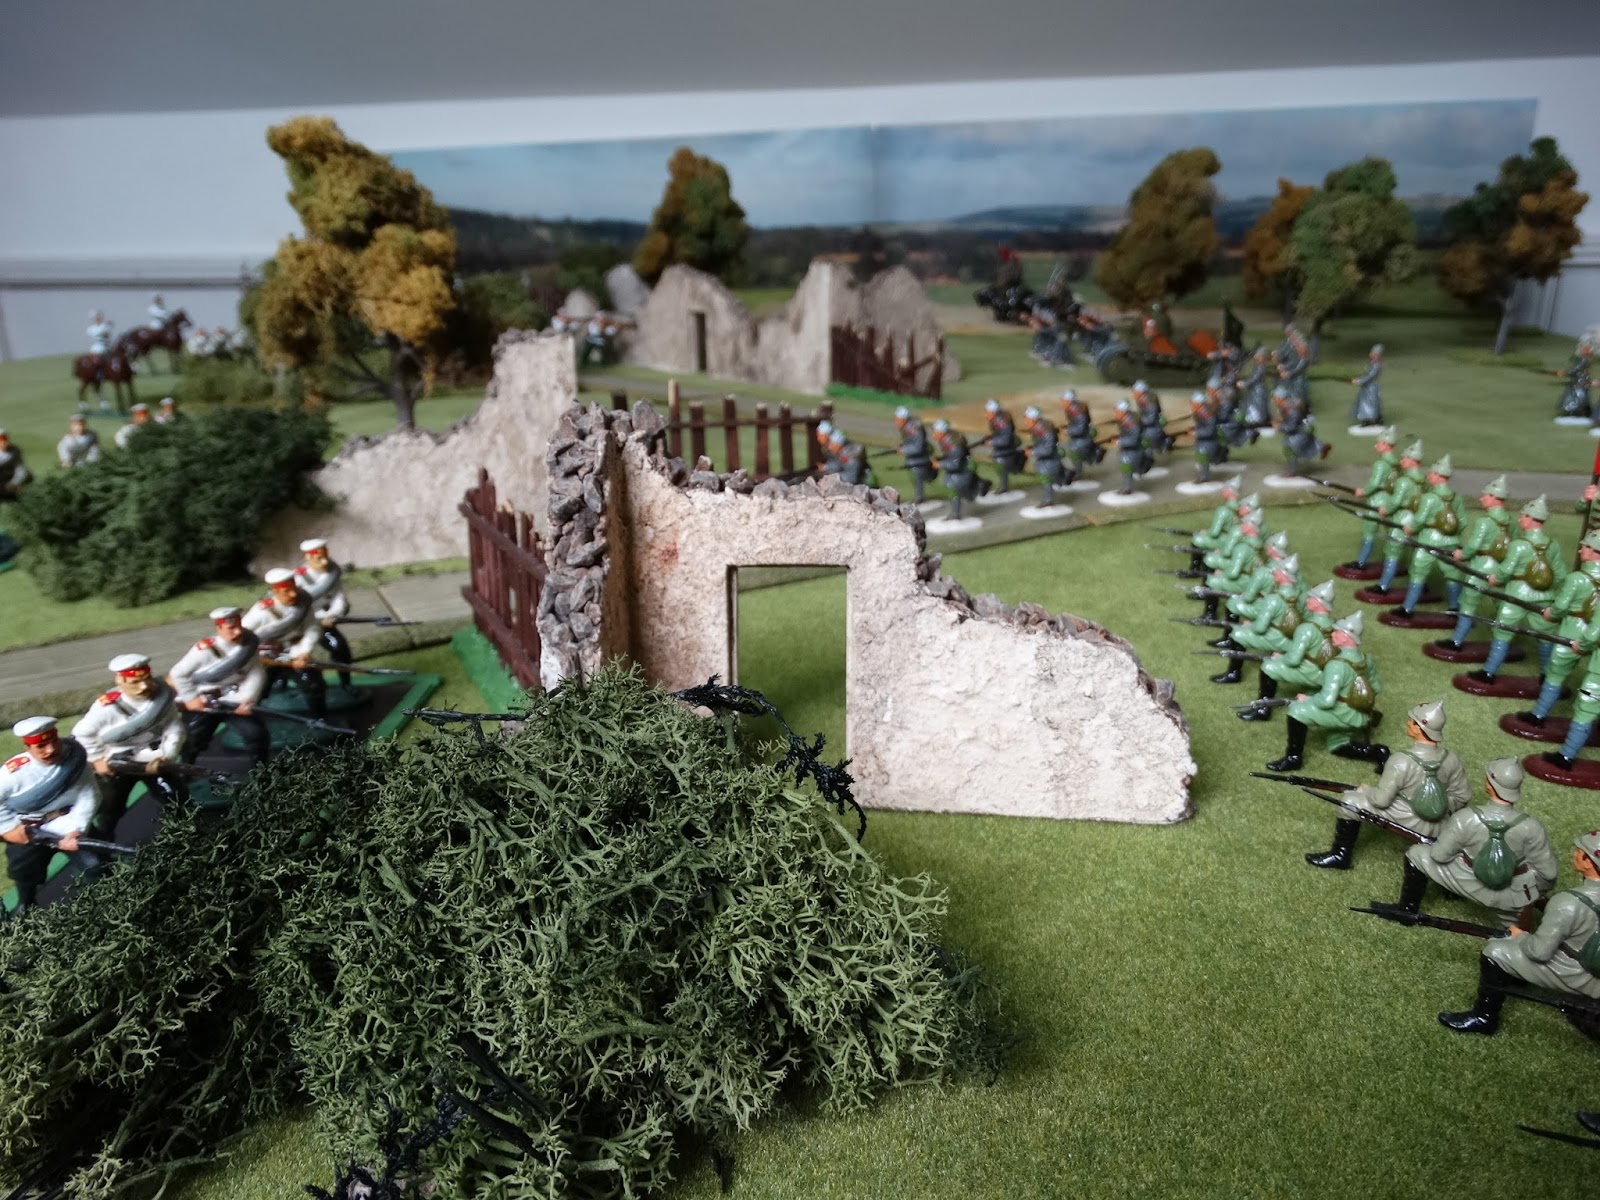
Bob's Russian infantry move forward
2 squads of red infantry sprint down the road
All these figures are ARTS and I particularly like these riflemen
The 'Reds' cavalry actually they are Metropolitan police which I converted and painted many years ago.
The Red Guard advance on the left flank.
Red Cavalry move forward.
My men wait in ambush for the advancing Red Infantry
Ivan's armoured car grinds to a halt as the tyres are shot out! Ivan fights on as bullets whistle around.
My gunners find their target!.......and miss!!!!!
My brave lads face the advance of the Reds tank.
Still Ivan dodges enemy bullets.. well Bob's dice are poor but it amounts to the same thing!
The Red Guards pour forward.
A brave Red Guard Officer peeks around his troops.
The Reds gunners take aim.
One unit of Red infantry break and run.
My hidden heavy machine gun opens up and destroys the advancing Red cavalry.
Ivan eventually falls!
With my armoured car silenced the Red Guard advance more boldly.
My troops eventually retire having caused some damage.
A welcome return by Kitten Force. Kingston who is half of Kitten Force and as laid back as the island capital he is named after walked across the table, inspected the 'Butcher's Bill' and was singularly unimpressed by the tactics and the rules!
To be honest it wasn't the best game. I shouldn't have given the Reds two tanks, they were in the box and I wanted to just get them out having discovered them again. The figures promised so much and looked good but we tried a set of free rules which I had adapted before discovering the Warhammer Great War rules rules on my shelf which might have been a better option, but you only earn by experience. So these 54mm figures have gone back in their boxes for another time.