Wednesday 13 February 2019

Austrians and French clash at Idonuwhere – Part 3


Having failed in all my assaults, the inevitable counterattacks came from the French.  First some devastating Mitrailleuse fire and artillery combined with rubbish dice saw one of my already weakened Austrian regiments break and flee their earthworks.


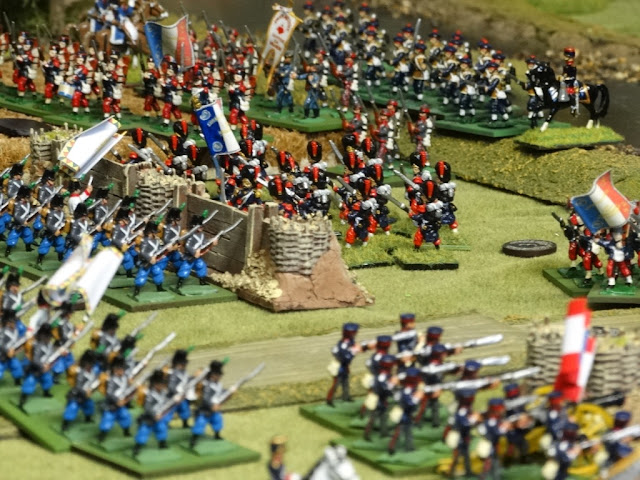
Then Bob wheeled his fresh Infantry regiment into the melee


Whilst I managed to force one French regiment to break, my infantry collapsed with one regiment destroyed and the other flung back.


The Austrian commander whose horse had been taking a drink looked up to find all his troops gone!

Worse still my gunners suffered casualties and fled.  My left wing was in a real mess all of my own making!


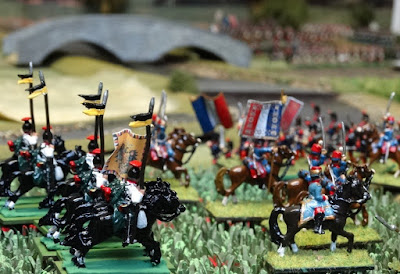
On his right Bob charged my Cuirassier regiment with a large body of Spahis and drove them back.  Fortunately I had been able to raise their morale with Rally to Me orders so they at least survived but were weaken again!  They got caught again in the Spahis Sweeping Advance but managed to cling on but were thrown back again.


To make matters worse the Carabineers on Bob's left were refreshed and charged my Hussars.  This time things didn’t go so well and the Hussars broke and ran.


It was definitely looking up for the French.  The Zouaves came back into the game, the French centre brigade suddenly got a move on and crossed the river seriously reinforcing the Bob’s left flank and the Guard impressively started to make progress across the river.  Slowed only by some fire from the town battery.


My only option was to divert my allied reinforcement to the now empty Austrian trenches before Bob could get to them.  The Hesse Kassel Hussars threatened the French line forcing them into square but suffering casualties as a result.


With my earthworks now restocked I felt that at least I had managed to shore up the game.  I brought my last Austrian regiment out of the town.


I managed to attack the Spahis with another Cuirassier regiment and this time it was the Spahis turn to break and run.


Then something really interesting happened.  Much to my surprise Bob decided to charge my Jaegers with his Cuirassiers. The Jaegers failed to form square and were disorganised and despite some really pathetic closing fire they actually managed to hold and the Cuirassiers who in turn bounced off!!  The god of dice playing a really big part!


‘Day 3’ ended with an assault on the Austrian works by one of the Guard units and an infantry regiment, fortunately the push back of the Cuirassiers muddled the advance of the rest of the Guards brigade.  I managed to beat off the line regiment, but the Guard are still there!


On my left Bob managed to get his Dragoons into action at last with an engagement with my 12th Uhlans resulting in an inconclusive outcome.


We decided to go for an unprecedented 4th day which will make this a 12 hour game! 
My forces are now spread thinly as I have all the earthworks to defend.  The French are beginning to concentrate their forces and you can see how they could overwhelm individual elements of the Austrian and allied army.


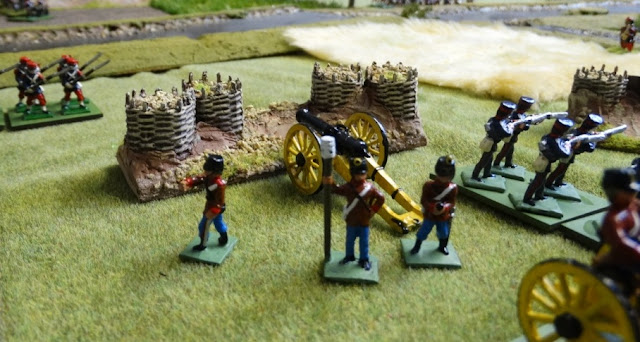
 The bright spot for me is the loss of Bob’s Cuirassiers and Spahis on his left.  Whilst my 3 Cuirassiers regiments have been weakened they are still there and represent a menace to the Guards brigade.  Fortunately, all of Bob’s mitrailleuse have either been destroyed or have jammed and his artillery no longer has any targets except the town walls.  For my part I have one battery left in the field.  The Town battery has lost all its targets except the distant French artillery as we felt the French infantry were too close.


Saturday 9 February 2019

Austrians and French clash at Idonuwhere – Day 2


After the success of my dragoons in riding down the limbered French artillery, they found themselves facing Bob’s Carabineers. Whilst managing to inflict some causalities the Dragoons lost, failed their break test and where destroyed.


Elsewhere, the first French infantry regiment managed to cross the bridge despite cannons and bullets whizzing at them from the Austrian defenders.


The next move and seized by a fit of madness on my part, or boredom from defending, I thought I would take advantage of the casualties on the Carabineers and attack them with my Hussars, and unsurprisingly they ‘bounced’ off but fortunately weren’t destroyed!


But this desire for action wasn’t just limited to this action.  Oh no! With the Zouaves still struggling to get back in the game and the French Chasseurs engaged in a fire fight I decided to try my luck against the 2 French infantry regiments that had deployed into line in front of the trenches on my right.  Now the sensible thing would have been to blast them with artillery but when does sensible come into things! The Austrians charged from the trenches to hit them 2 regiments to one.  What could go wrong?  To be honest the fact that I had forgotten that I had made all the French troops ‘Blood thirsty’, this meant that for the first round they re-rolled combat misses.  I did this to make sure they stood a change against troops in trenches and to replicate the French élan.  It was my undoing.


On my left flank I launched my Cuirassiers to attack their French counterparts.


Everything failed! The French Line held, my Cuirassier fell back and a Sweeping advance by the successful French hit another unit of my Cuirassiers flinging them back my final Cuirassier Regiment managed ‘a draw’ which resulted in both the Austrian and French Cuirassiers falling back. 


Bob’s French nevertheless won the day.  On my left all my Cuirassiers were blown and would need time to get their Morale back, the French infantry had held on the right and I had lost my heavy cavalry on that wing and 2 of the 3 light cavalry regiments had been engaged and suffered. 

The French Guard continued it painfully slow progress and Bob moved his central brigade to reinforce his left flank.


My only saving grace was that the last of the allied forces had taken the field with the Hesse Kassel infantry advaning from the main gates and the Baden infantry on my left


The game seemed to have got both of us and we decided to go to ‘Day 3’ as it was still open.  We also set an objective which was for the French to hold the earthworks. Day '3' was to prove bloody.

On the off chance that Bob might want them I made up 6 dismounted French Dragoons, these are conversions of the Hinton Hunt Napoleonic dragoons, I just shorten the jackets and ‘filled out the trousers’.  They may come in useful one day manning the barricades!


Saturday 2 February 2019

Austrians and French clash at Idonuwhere – Day 1


Bob and I finally met to try this game out, in fact it has proved to go on for longer than I had expected, partly because units failed to pass the BP Command test and partly because we were talking a lot about the figures, gaming and the rules.  Anyway, we finished ‘Day 1’ and after a week’s break 'Day 2' and we still haven't finished.  It struck me that I had taken a lot of pictures and if I posted the AAR in one go it would be huge or lots of pictures would have to be dropped, so I decided to break it down into a number of separate posts.  This could be boring or an opportunity to be vain and show lots of pictures of my figures!!  A ‘Day’ in our wargaming terms is a 3 hour parking permit I have to give Bob to park in the street outside my house in Islington, North London.

Day One
This unsurprisingly saw the French advance – well try to – on all fronts.  In effect, the Guard Brigade wouldn’t move, or being polite that they would give the others a head start and catch up.

Bob’s left flank however decided to show the way with the Chasseurs D’Afrique leading the advance.


The centre line regiments also started to make some progress, although slowly


The Guard Brigade made a halting one move the next turn


Meanwhile Bob’s artillery and Mitrailleuse opened fire causing the first casualty in the Austrian trenches.

Bob’s left continued to cross the ford in strength.


The Chasseurs came in effective range of my artillery 


The artillery managed a casualty and the in the ensuing Break Test the first regiment decided to break and flee

Seizing the moment I charged with the 12th Uhlans into the second unit of Chasseurs


The Chasseurs broke and the supporting heavy cavalry were forced to retire as a result of a poor test result.


Spurred on by their success the Uhlans made a Sweeping Advance and charged a column of Zouaves (reading the rules perhaps this shouldn’t have been allowed) they didn’t break them but forced them back

On the right the Guard continued their stuttering advance and the artillery on both sides continued to fire with little effect.


The Uhlans were forced to retire hotly pursued by the advancing French – would this really happen?


The French infantry on the left deployed into line to engage the Austrian trenches


The Austrian Allied forces were now crowding into the town doors were flung open all the Hesse Kessel infantry decided to stay behind the walls!  Only the Hesse Kessel cavalry and the Sachsen-Meiningen infantry venturing out into the fray on my right flank.


Everything seem to be happening on the left flank, Bob decided to limber his artillery and bring it forward only to find that my Dragoons charging into them and catching them.  The gunners were slaughtered.  The officer commanding the French artillery was one of my conversions to a mounted officer with binoculars.  That didn’t help him spot the enemy cavalry!


At this point we decided to call a halt to ‘Day One’.

More pictures and actual action on other fronts on ‘Day Two’