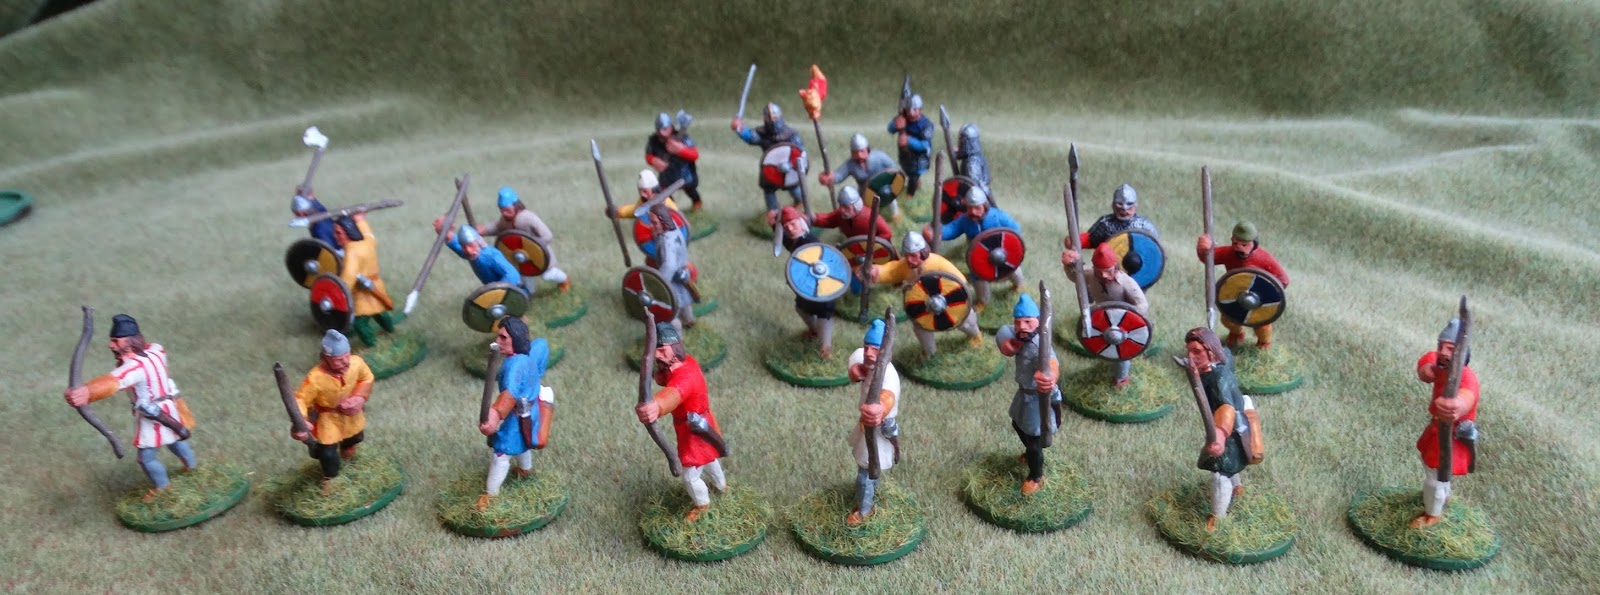
Mark Lodge of Jacklex Miniatures https://www.jacklexminiatures.com/colonial-nineteenth-century came to see me a week or so ago and was telling Bob and I about Duffers Drift. He sent me a description of the scenarios and some pictures and has kindly agree to allow me to publish the various scenarios. All the scenarios were all fought using Andy Callan's Magdala to Mafeking' old school set.
'The Defence of Duffer's Drift' (Major General Sir Ernest Swinton KBE, CB, DSO) has been a staple of military instruction since it appeared in 1907 in the 'United Service Magazine'. Although the setting is the turn of century Anglo Boer War in South Africa, the story is universal in the dilemma it poses to any lieutenant (or wargamer!) in any war - how one adapts a piece of terrain to the accomplishment of a different mission with limited manpower, weaponry and communication.
Lieutenant Backsight Foresight (BF to his friends - also an acronym for bloody fool) has been left in charge to hold Duffers Drift, the only ford on the Silliassvogel River available to wheeled traffic . It is his first independent command. Here is his chance for fame and glory!
SITUATION
Ground. The river is a sluggish stream crawling along the very bottom of its bed with steep banks covered with dense thorn bushes. 2000 yards to the north of the drift is a flat topped , rocky mountain (Regret Table Mountain) and about a mile to the north east is a sugar loaf kopje (incidentamba) with a farm on its near side. About 1000 yards to the south of the drift is a convex smooth hill (Waschout Hill) with a native kraal on top. The ground between these features is flat open veld.
Enemy. The enemy (up to 500) might possibly attack from the north but no enemy were known to be within a hundred miles. The enemy has no guns.
Friendly Forces. 50 NCOs and men off the Duke of Wellington's Regiment (the Dukes) equipped with magazine rifles.
Mission. Hold the drift at all costs in order to stop the enemy crossing south of the Silliassvigel River.
FIRST SCENARIO
After a long march to the drift Lieutenant BF pitched a small tented camp just south of the drift, leaving defensive arrangements to the morning when the men would be less tired. He trudged with field glasses and Kodak to the gleaming white walls of the little Dutch farm nestling under the kopje to the north east to meet the owner Mr Andreas Brink and his family.
Informed of the British presence by Brink, the Boers surround the camp in the night and at dawn killed the sentries and rushed the camp from three sides taking the little garrison by surprise. The Dukes had 10 killed and 21 wounded. The Boer convoy with guns easily crossed the drift.
Lesson's learnt (according to the book).
- Do not put off taking defensive measures
- Do not let civilians see your positions
- Do not let sentries advertise their positions
- Do not be in tents when the bullets are flying
SECOND SCENARIO
The camp was now fortified with a shallow trench all round. Brink was not allowed to visit the camp and two four man posts were placed on Waschout Hill and 1000 years to the north.
The Boers again used darkness to approach the British camp, neutralised the two examining posts and fired at short range into the camp from all sides. The defenders could see no one eventually the position became hopeless and Lieutenant BF with casualties mounting (24 killed and 6 wounded) hoisted the white flag.
Lessons learnt
- Do not have to sit on top of position to defend it and poor entrenchments are no defence against close range rifle fire.
- Do not let civilians roam free to report your positions
- Use native labour if it is available
THIRD SCENARIO
Considering the lessons of the last two engagements, Lieutenant BF moved his position 700-800 years south of the drift and dug a shallow trench 50 yards long broken at a slight angle facing north. He secured Brink in the camp and placed an entrenched guard of six men on Waschout Hill.
The lookout on Waschout Hill reported Boer movement near Incidentamba Farm and soon after the British position was under artillery fire and then rifle fire from east, west and south. The combination rendered the defenders powerless and Lieutenant BF reluctantly put up the white flag.
Lesson's learnt
- If you want surprise you must gather in all the civilians
- A shallow trench even with a bullet proof parapet is no use against plunging artillery fire
- Protection from artillery requires a different type of defensive position
FOURTH SCENARIO
All natives and civilians were secured in the camp. The existing trench was narrowed and deepened to 3'6" with a parapet 12" high and an area hollowed out to give some overhead cover. All looked well for the fight.
This time the Boers artillery had much less effect on the position. However, the Boers still managed to fire into the trench, enfilading the right half and managing to work their way into the rear of the position after destroying the lookout on Waschout Hill. After 3 hours of firing the Dukes had 25 killed and 17 wounded. It was time to surrender.
Lessons learnt
- For a small isolated post there is a front all round
- Beware of being taken in reverse
- Beware of being enfiladed even from long range fire
- Do not have your trench near rising ground over which you cannot see
- Space out your men
- Cover from sight is often better than cover from bullets
- Surprise is a great advantage
- Conceal your position
- Look at your position from the enemy's point of view
FIFTH SCENARIO
After much contemplation Lieutenant BF decided that control of the high ground was the key to any future engagement. The position was moved to Waschout Hill with short lengths of deep firing trench each holding five men dug around the native kraal. Firing positions in the native huts for 3 men were also constructed. All was well concealed.
AS the Boers approached Lieutenant BF realised to his horror than the convexity of the hill hid the drift and the road running west from his position. However, the Dukes managed to surprise a party of Boers scouting south of the drift within 250 yards of the position. Unfortunately the Boers moved their wagons in dead ground under mutually supporting fire of guns and rifles. There were few British casualties but the Drift had not been secured.
Lessons learnt
- Beware of convex hills and dead ground
- A hill may not be the best place to hold
- A conspicuous bluff trench may draw fire away from manned positions
SIXTH AND FINAL SCENARIO
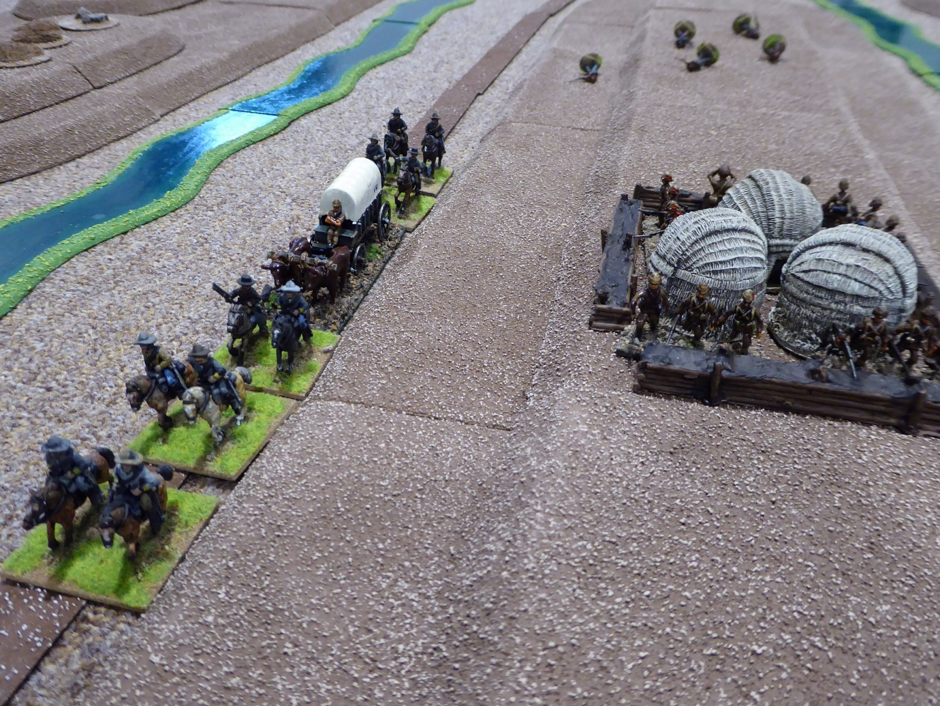
An idea against all the tenants of his training now began to formulate in Lieutenant BF's mind. It was to hold the river bed and banks on each side of the drift. The advantage were, perfect concealment and cover from sight; trenches and protection against rifle fire and gun fire; practically ready made communications under good cover; the enemy in full view and good fields of fire.
The Boers were again surprised and an advance party lost 9 men to British rifle fire from the river banks, Boer artillery burst all along the river, but the gunners could not identify their targets. A Boer approach from the south was stopped by the detachment on Washout Hill. The fight went into a second day and in the night 20-30 Boers were killed. The Boers could not achieve a crossing and retired. The Duke's casualties were 11 killed and 15 wounded but they and their young Subaltern had held the drift and won a victory.

The figures used in the games were Jacklex Miniatures from the Boer War , Confederate Army and Colonial British Army ranges. All the figures and many more are available from Jacklex Miniatures at www.jacklexminiatures.com. The rules were Andy Callan's 'Magdala to Mafeking' old school set and are available as a free download on the www.jacklexminiatures.com site. The scenery was supplied by 'S&A Scenic' and the buildings are by Hovels. The references is 'The Defence of Duffer's Drift' E.D. Swinton, George Ronald 1949.