A
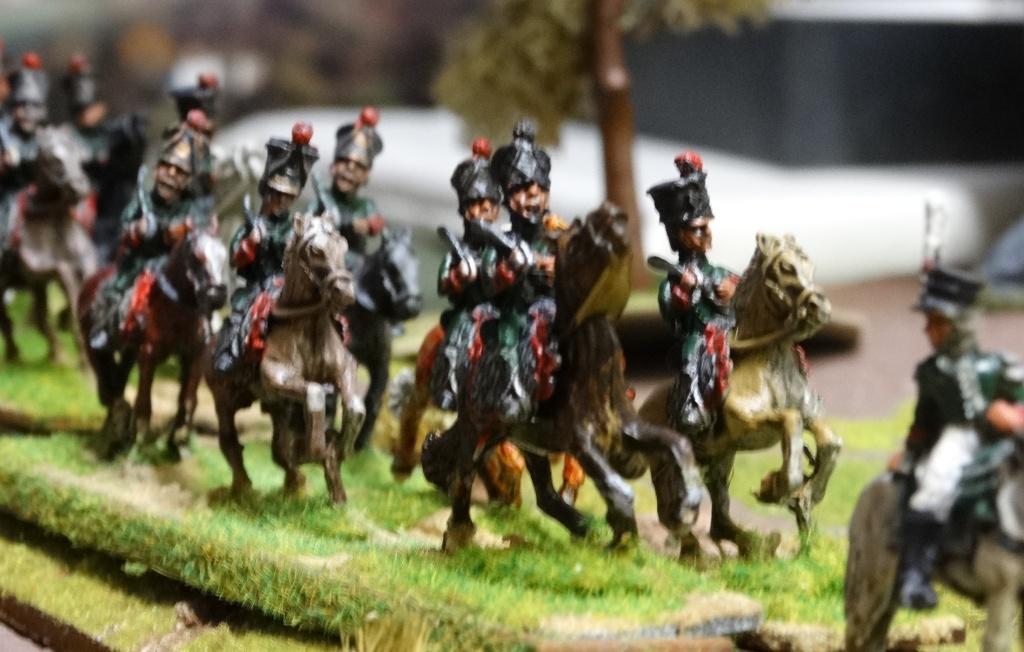
game not involving S range figures for a change! Went over to Bob’s for a game. The scenario involved a race for a Bridge
with the Russians aiming to destroy the bridge before the advancing French
could take it. The playing cards
represent potential fords. This is based on an idea I found whilst trawling the
net some years ago and I take no credit for it.
Bob
commanded the Russians, whilst I took charge of the French. The French outnumber their Russian opponents,
but most are off table and need to move on down the road.

Bob
won the initiative and moved his lancers down the road towards the bridge.

Then
disaster befell the Russians, the Engineers who were following them failed to
pass the command move, blocking the road to all the remainder of the Russian
troops.

My
forces by comparison all passed their tests and moved down the road. My leading cavalry setting off in search of
fords to cross the river.
Again
most of the Russian forces failed to move, the Engineers resolutely staying
put. One Russian regiment moved off the
road to try to get around the blockage and the local peasants came out from the
town to support their army. The lancers
again moved and Bob decided the only course of action was to move onto and over
the bridge to protect it.


My
cavalry found a ford

However,
before I could cross Bob’s lancers crossed the bridge and prepared to charge!


My
leading infantry regiment immediately formed square, blocking all further
movement onto the table for the time being

The
lancers bravely charged and my chasseurs counter charged. I have to say I thought it was all up for my
cavalry.

Thanks
only to my supports, I managed to win the melee. I do wonder about this rule on
occasions. The lancers took and then
failed their command test and left the table.

My
infantry reformed from their square and the infantry ‘snake’ continued along
the road - but very slowly. Although a group of skirmishers managed to cross
the ford


Meanwhile
the Russians were still having all sorts of movement problems. The Russian
artillery got stuck at the back of the line and despite attempts to fire often
found its targets masked by its own troops.


My
line on the road was simply becoming too long so one brigade took off across
country to try tl reach the ford supported by an artillery unit which set up on
a nearby hill to provide supporting fire and make the Russians life more
miserable.


To
a resounding cheer the Russian Engineers finally reached the bridge and started
to lay their charges hopelessly late.

With
the Russian infantry deploying to engage my infantry crossing the ford, the
Engineers only found themselves supported by one regiment of infantry. They were forced to abandon their efforts as
my infantry swarmed onto the bridge.


At
the same time my other cavalry regiment started to cross at the second ford
potentially outflanking the engineers and the Russian infantry. The Russians were in a hopeless position but
their guns finally had a target and managed to halt my infantry on the
bridge.


However
it was clear that the Russians couldn’t fulfil their objective of destroying
the bridge and retreated.
The scenario seems to have the potential to have good replay value ... especially if those engineers come good. Enjoyed, thank you. What size table did you use?
ReplyDeleteHi Norm
ReplyDeleteAs always firstly thank you for posting and the interest. Bob has an approximately 8 x 4 foot table but for this game we only used 6 x 4. I think you are right about the replay value, it could be any period.